
Butterfly Embroidery On a T-shirt
Butterfly Embroidery On a T-shirt is a fantastic way to elevate your wardrobe, but the process can seem daunting if you’re new to embroidery. Do you find your plain T-shirts boring and wish you could add a personal touch without spending a fortune on new clothes? The good news is that with a few simple techniques, you can transform any T-shirt into a unique piece of art that showcases your creativity. This guide will teach you everything you need to know about adding beautiful butterfly embroidery to your T-shirts, turning them into standout pieces that reflect your personal style.
How to Personalize Your T-Shirts with Hand Embroidery: A Complete Guide
T-shirts are a wardrobe staple for everyone. They offer comfort, versatility, and complement various styles effortlessly. Whether you pair oversized T-shirts with jeans, crop tops for the beach, or modern classic T-shirts under a jacket, they remain a fashion essential.
While some days call for colorful graphic T-shirts, other times a plain black or white T-shirt fits the bill. Personalized T-shirts are also a great way to express individuality with something simple yet unique. The good news? It’s easy to personalize your plain T-shirt with simple hand embroidery stitches. Let’s get started!
Hand Embroidery on Stretchy Fabric – The Basics
Before we dive into embellishing our T-shirt, here are some crucial tips for hand embroidery on stretchy fabrics.
Choosing the Right Stitches: Some hand embroidery stitches stretch, while others do not. Be cautious with the stitches you apply around the neckline, as this area stretches the most. Avoid continuous lines of backstitch, running stitch, or other non-stretchy stitches. Opt for stitches with horizontal and vertical directions, such as Blanket stitch or Herringbone stitch, or designs formed from separate sections.
Maintaining Fabric Tension: The tension of the fabric is critical. Too loose or too tight can cause issues. Using a water-soluble stabilizer for pattern transfer to jersey fabrics helps maintain the fabric’s tension and simplifies the embroidery process.
Using the Right Needles: Always use sharp needles. If the needle doesn’t pass through the fabric smoothly, switch to a smaller size or a new needle. Blunt needles can damage the fabric, resulting in small holes in your T-shirt.
Handling the Fabric: If you take a break from your embroidery, remove the fabric from the hoop to avoid deformation from constant tension. This also makes ironing the T-shirt easier after completing the project.
Managing the Fabric: T-shirts and other finished garments can be challenging to embroider. Carefully roll the garment pieces outside the hoop and pin them to keep excess fabric out of the way while stitching.
Supplies Needed for the Project

To begin your hand embroidery project, gather the following supplies:
– Pattern: I chose a butterfly line drawing design from the Creative Fabrica library.
– T-shirt: I used a plain white crop top, but you can use a new T-shirt or refresh an existing one.
– Embroidery Floss: I used DMC Embroidery floss in Black (#310), but any contrasting color will work.
– Embroidery Needle: A medium embroidery needle (e.g., No. 7) for two strands of embroidery floss.
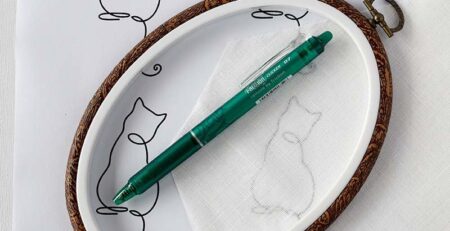
– Pattern Transferring Tools: I used a water-soluble stabilizer and a friction pen for pattern transfer.
– Embroidery Hoop: Choose a size that fits the design. Mine is 20 cm in diameter.
– Scissors: Small embroidery scissors or nips to cut the thread.
Tips Before You Start Embroidering
1. Pattern Transfer Methods: Consider other methods of pattern transfer. Refer to the “Four ways to transfer embroidery patterns to fabric” article to decide the best method for your fabric and project.
2. Learning Basic Stitches: If you are new to hand embroidery, learn the basic stitches needed for this project. The “Six Hand Embroidery Stitches for Lettering” article is a useful resource.
3. Avoid Knots: Avoid making knots when starting and finishing stitches, as they can irritate the skin and loosen when washed. Use the folded thread method to start stitching and secure threads when finishing.
Step-by-Step Tutorial
**Download and Transfer the Pattern**
1. Download and Resize: Download and resize the butterfly line drawing from the Creative Fabrica library as needed.
2. Print the Pattern: Print the pattern and transfer it to the water-soluble stabilizer. Be mindful of the tools you use to draw on the stabilizer, as some pens bleed when wet. A friction pen is accurate and does not bleed.
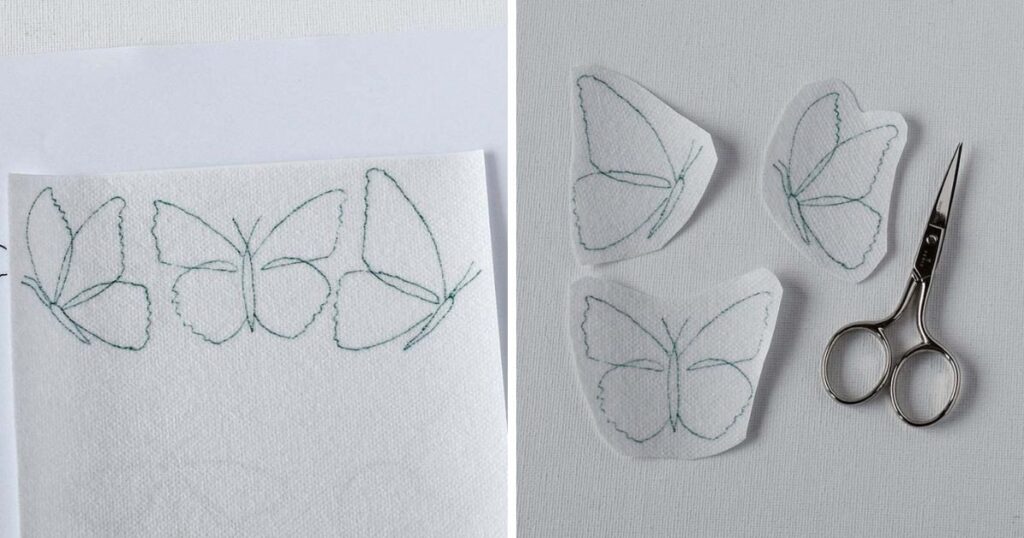
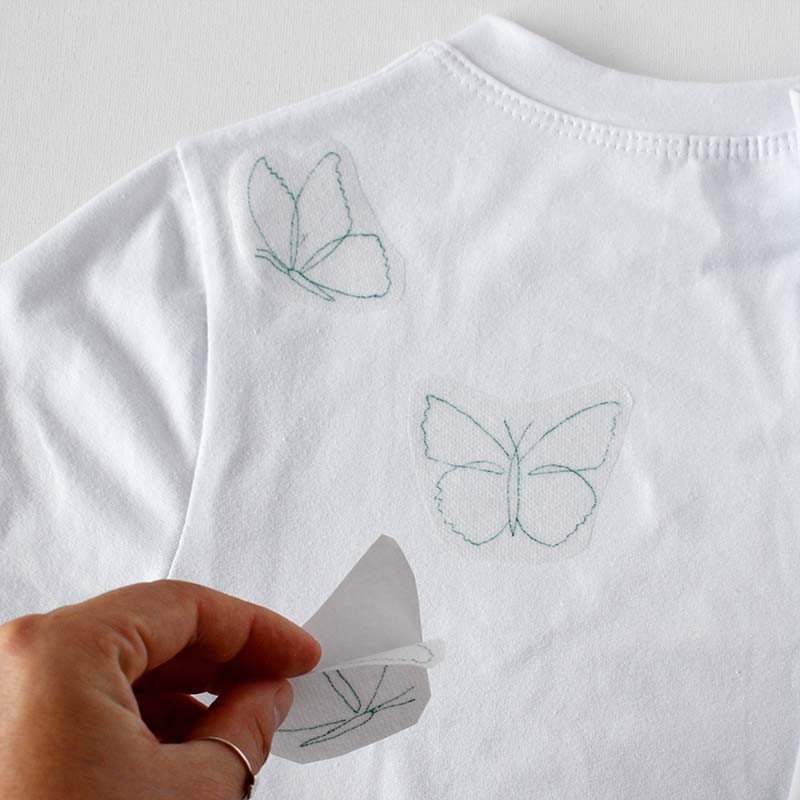
**Prepare the T-shirt**
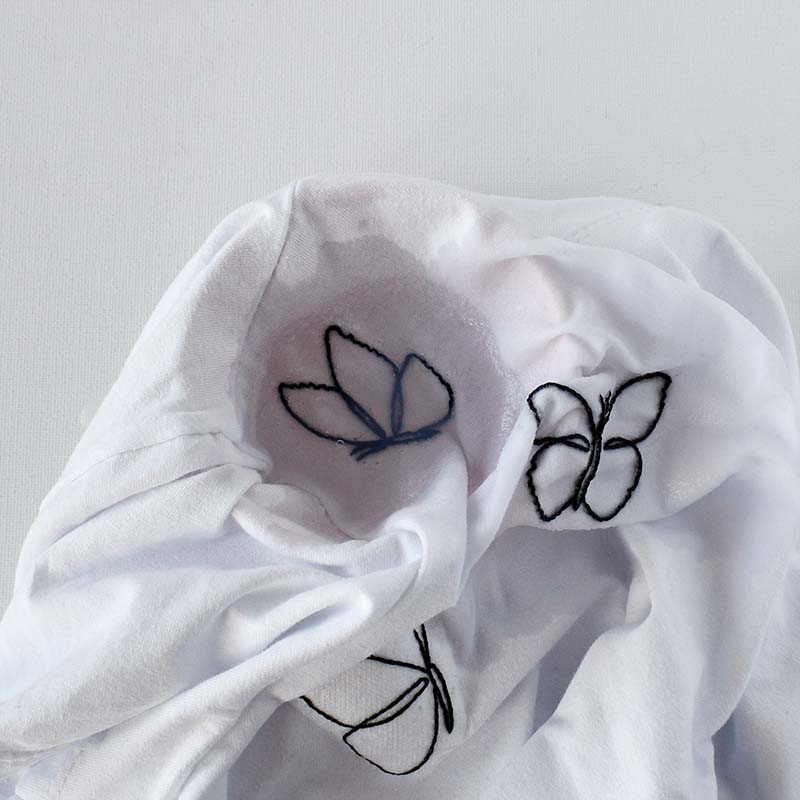
1. Cut and Position: Cut out the butterflies and position them on the T-shirt. Place the T-shirt on a solid surface, ensuring it is not wrinkled. Iron it if necessary. Peel and stick the stabilizer with the design onto the T-shirt.
2. Place in Hoop: Place the T-shirt in the hoop without stretching it too much. The water-soluble stabilizer will keep the fabric stable.
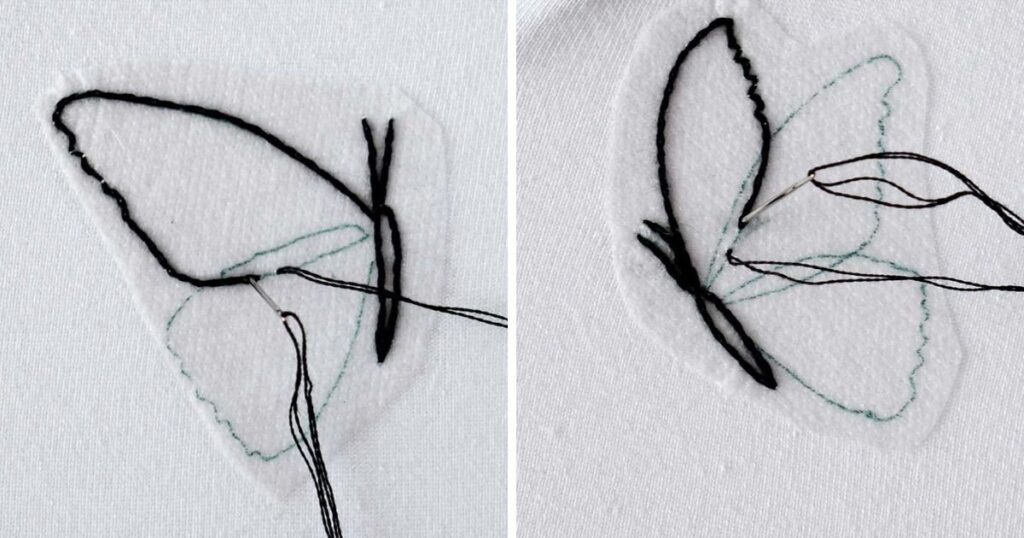
**Embroider the Butterflies**
1. Stitching: Use two strands of black embroidery floss (DMC #310) and a split backstitch for embroidery. Avoid large knots on the back, and secure threads carefully.
2. Secure Threads: Use the folded thread method to start stitching and secure the threads to prevent them from loosening during washing.
**Remove the Stabilizer**
1. Dissolve Stabilizer: Once embroidery is complete, place the part of the T-shirt with the stabilizer and embroidery into a bowl of lukewarm water to dissolve the stabilizer.
2. Rinse and Dry: Rinse with running water to remove any residue, dry the T-shirt, and iron it.
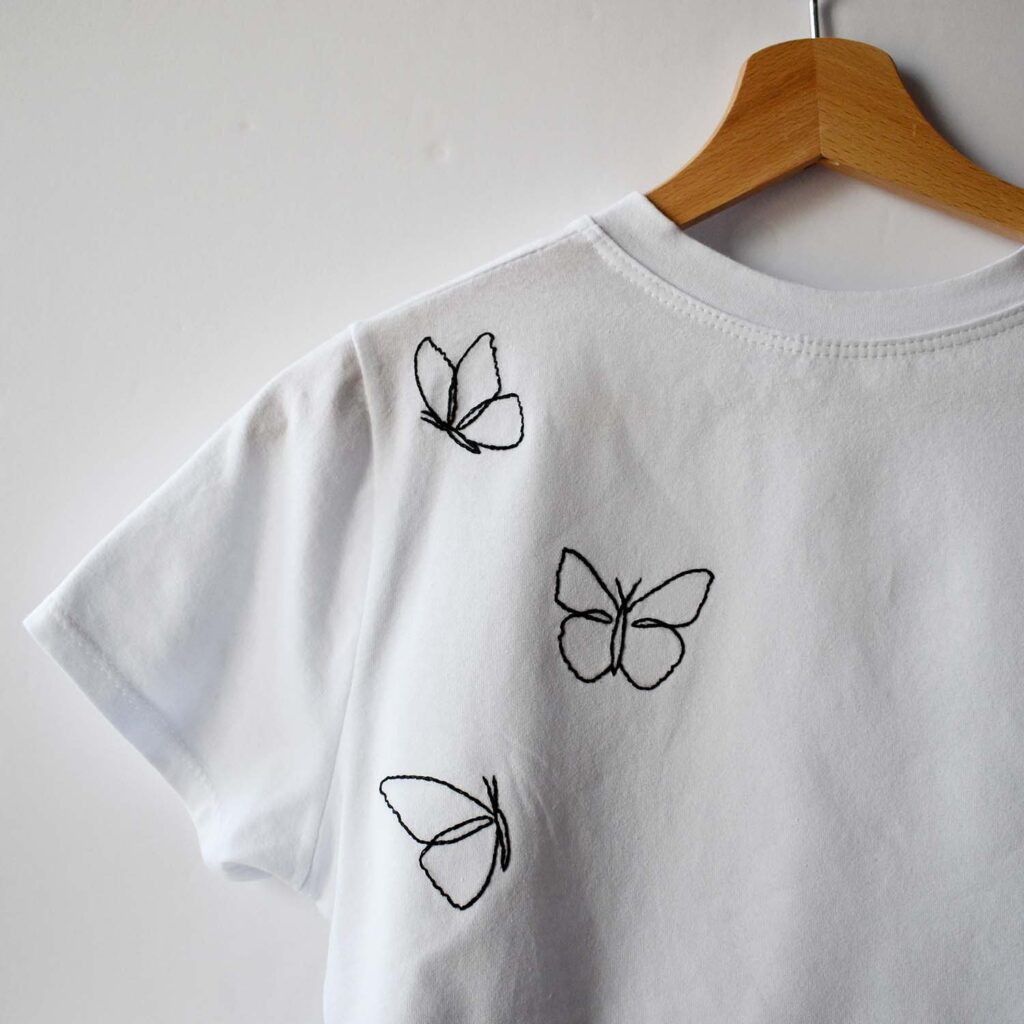
Go Chasing Butterflies!
Your custom, one-of-a-kind T-shirt with butterfly embroidery is ready! Wear it to the beach, during a city holiday trip, or to work, and showcase your unique style. With this simple step-by-step tutorial you can create T-shirts that perfectly fit your style and reflect your personality.
Butterfly Embroidery On a T-shirt is not only a creative way to personalize your wardrobe but also a simple and rewarding project. By following this guide, you’ve learned how to choose the right stitches, maintain fabric tension, and handle all the necessary tools to ensure your embroidery looks professional and lasts. Whether you’re a beginner or an experienced embroiderer, adding butterfly designs to your T-shirts can make them truly unique and reflective of your personal style. Embrace the opportunity to transform your plain T-shirts into standout pieces that showcase your creativity and individuality.
—————————————————————–


Leave a Reply
You must be logged in to post a comment.