How to How to transfer embroidery to clothes onto Fabric Simply and Effectively
Are you frustrated with the time-consuming and complicated process of transferring embroidery patterns onto fabric? Tired of ending up with patterns that are misaligned or incomplete, wasting your valuable materials and effort? Fear not! Discover “How to Transfer Embroidery Patterns onto Fabric Simply and Effectively.” In this guide, we’ll reveal proven techniques that ensure precise and hassle-free pattern transfers, allowing you to focus on your creativity rather than battling with the initial setup. Whether you’re a novice or a seasoned embroiderer, these methods will transform your embroidery projects, making the preparation phase as enjoyable as the stitching itself.
Transferring Embroidery Patterns onto Fabric
The Simplicity and Effectiveness of the Light Table Method
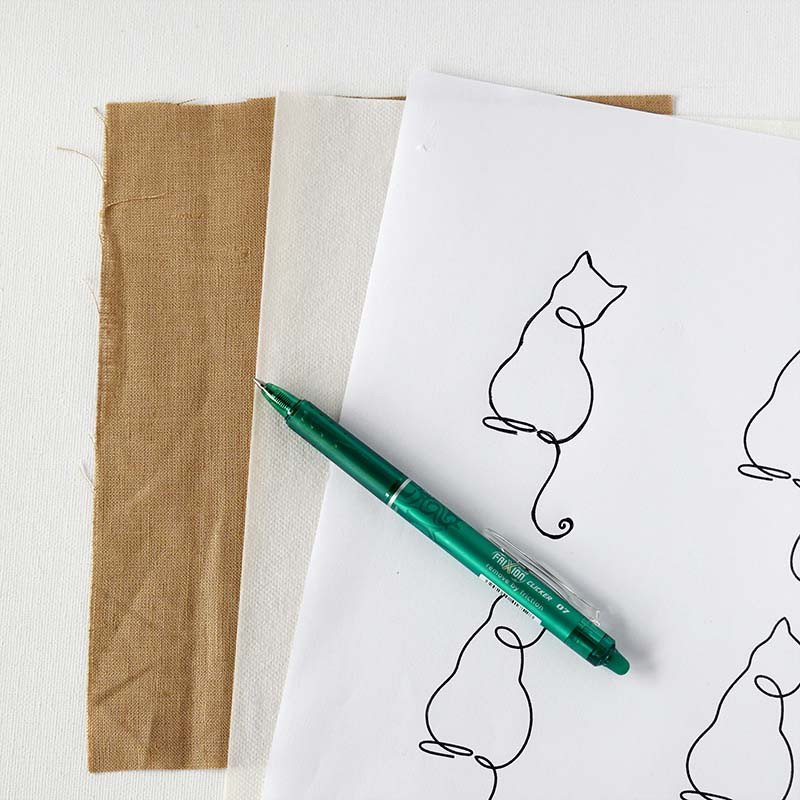
The light table method for transferring embroidery patterns is beloved for its simplicity and low cost. To use this method, you need a printed pattern, a piece of light-colored fabric, a transfer tool, and a light source. Light sources can include a window with strong sunlight, a computer screen, a tablet, or even a professional light box.
Supporting Tools
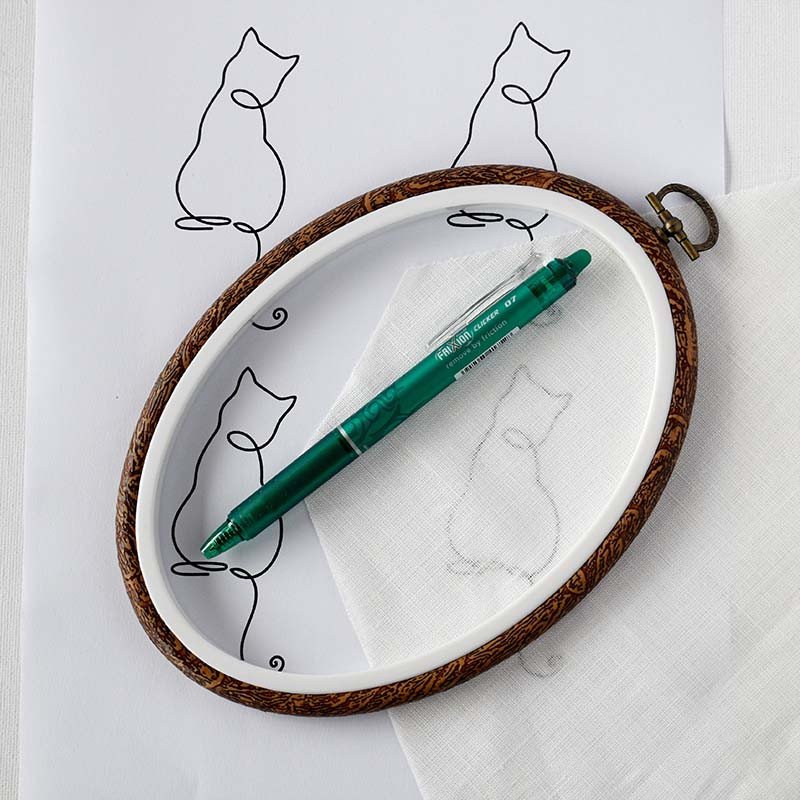
When using this method, you can choose between various transfer tools such as friction pens, water-soluble pens, pencils, or tailor’s chalk. This flexibility allows you to select the right tool for your fabric type and embroidery color.
Process
First, print or draw the pattern on paper with bold, clear lines. Next, tape the pattern to a window or other light source. Then, prepare your fabric. If the pattern is small enough to fit in an embroidery hoop, stretch the fabric in the hoop before transferring the pattern. If the embroidery pattern is larger than the hoop, iron the fabric flat and tape it over the printed pattern.
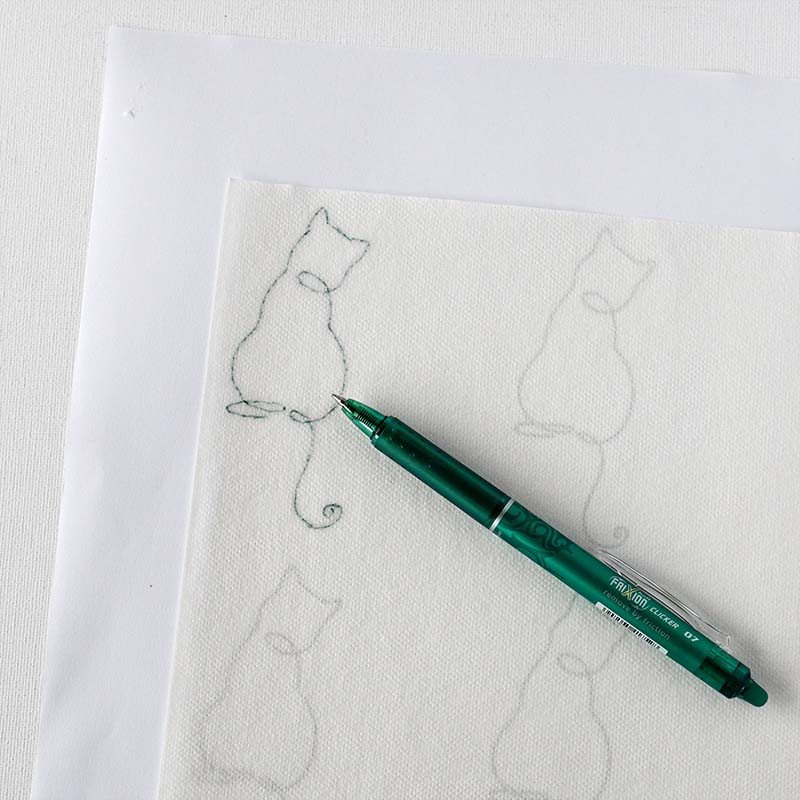
Once everything is ready, trace the pattern onto the fabric using your preferred transfer tool. With this, you’ve completed the transfer process and are ready to start embroidering.
Drawbacks
While effective and economical, this method is not suitable for transferring patterns onto dark or thick fabrics. Additionally, transferring large, complex patterns can be challenging as they may not fit well within an embroidery hoop.
The light table method is a fantastic choice for beginners. With its simplicity and variety of tool options, it ensures cost savings and ease of use, helping you quickly dive into exciting hand embroidery projects.
Using Tissue Paper for Embroidery Pattern Transfers
Solution for Special Fabrics
For those who love embroidering on special fabrics like black felt, red velvet, or thick denim, the tissue paper transfer method is an optimal choice. This simple, quick, and inexpensive method allows you to work on challenging fabrics with ease.
Preparation and Necessary Tools
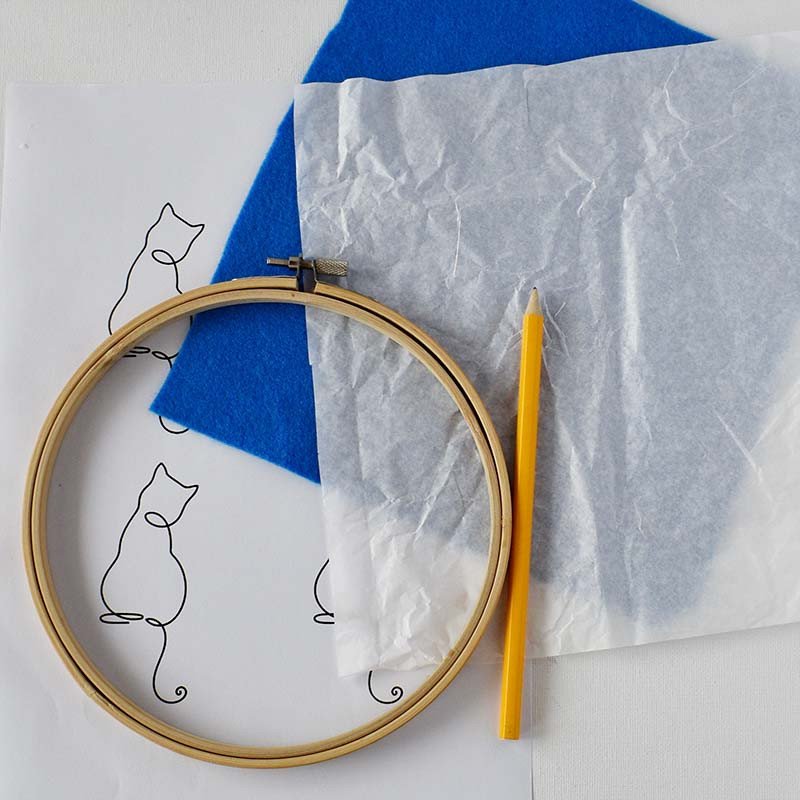
To apply this method, you need your embroidery pattern, tissue paper (gift wrapping paper or the paper layer from a tissue), and a pencil or ballpoint pen for tracing. Avoid using felt-tip pens as they can bleed ink on the tissue paper, distorting the pattern.
Transfer Process
First, place the tissue paper over the pattern and trace all details with a pencil or ballpoint pen. After tracing, place the tissue paper on the fabric where you want to embroider, adjusting it to the desired position.
Next, stretch both the tissue paper and fabric into an embroidery hoop. If the tissue paper is smaller than the hoop, use basting stitches to secure its position. Then, begin embroidering through both layers, being careful not to tear the tissue paper before completing the pattern.


Removing Tissue Paper After Embroidering
Once the embroidery is complete, the next step is to remove the tissue paper. Start by tearing away the larger pieces, followed by the smaller pieces under or between the stitches. This process requires some patience, especially for complex patterns.
The tissue paper transfer method not only allows you to embroider on various fabrics but also offers flexibility and convenience. For those looking to challenge themselves with special fabrics, this method is a must-try.

Using Carbon Paper for Embroidery Pattern Transfers
Flexible Choice for Various Fabrics
The carbon paper transfer method is known for its flexibility and suitability for various fabrics. Carbon paper comes in many colors, making it easy to transfer patterns onto both light and dark fabrics.
Necessary Tools
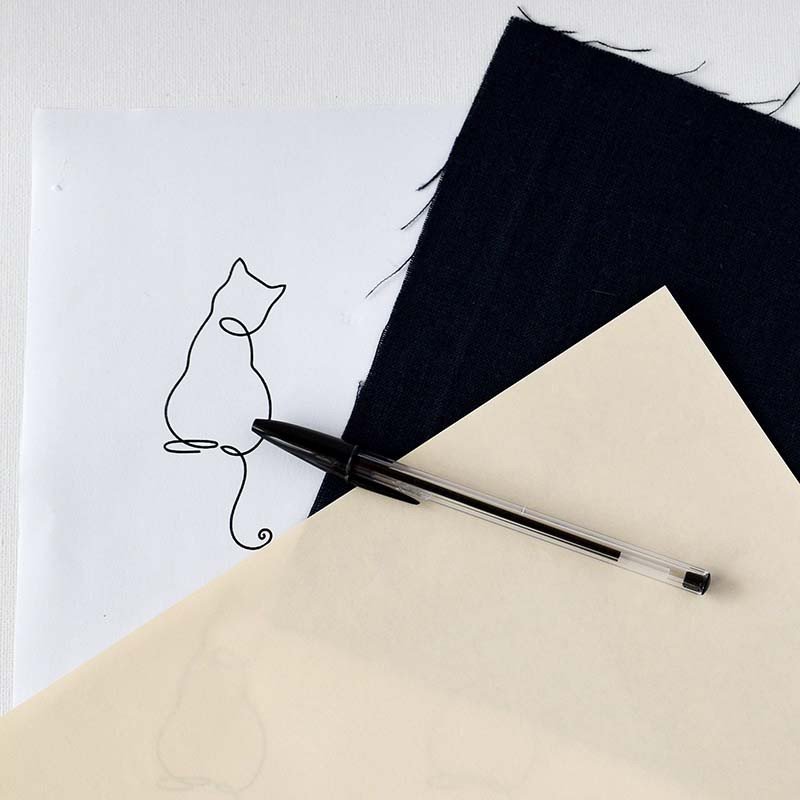
For this method, you need a printed embroidery pattern, carbon paper matching your fabric color, and a ballpoint pen. Carbon paper can be reused multiple times, making it a cost-effective option for embroiderers.
Transfer Process
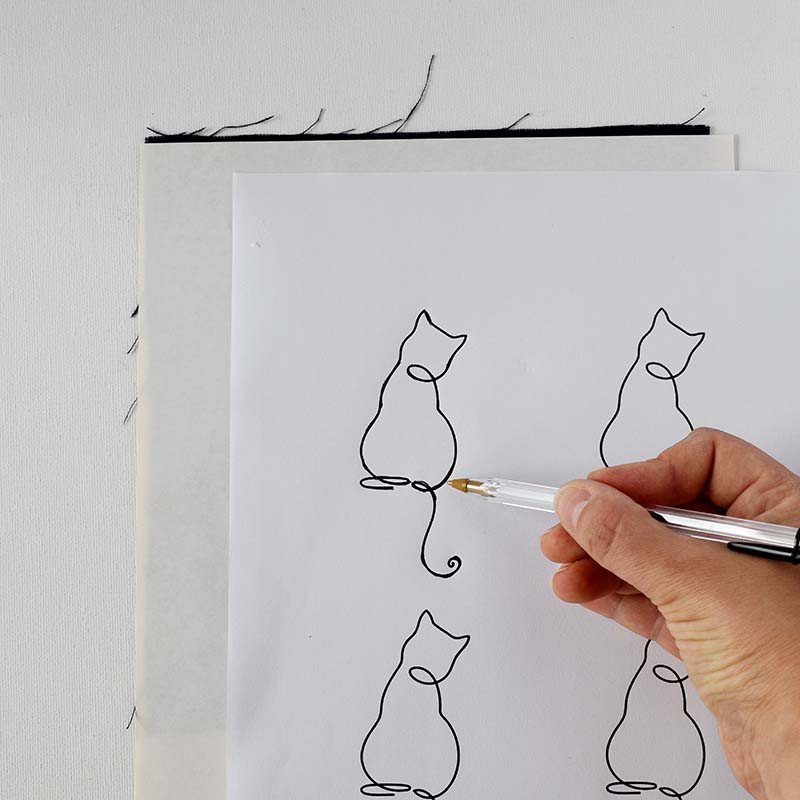
Begin by placing the carbon paper on the fabric, ensuring the colored side is in contact with the fabric. Then, place the embroidery pattern over the carbon paper and trace the lines with a ballpoint pen. You may need to trace over the lines multiple times to ensure they transfer clearly to the fabric.
After tracing, remove the pattern and carbon paper from the fabric. The pattern outlines will be visible on the fabric, allowing you to proceed with embroidering.
Limitations
While beneficial, this method has limitations. Carbon paper is less effective on rough-textured fabrics, fabrics with special weaves, or very soft fabrics like velvet or loosely woven linen. Additionally, pressing too hard during transfer can leave unwanted marks on the fabric.
Using carbon paper is a quick and effective method for transferring embroidery patterns, especially for large designs. With its reasonable cost and minimal tool requirements, it’s an excellent choice for embroidery enthusiasts.
Water-Soluble Stabilizer for Complex Patterns
Optimal Method for Detailed Designs
When facing detailed and complex embroidery patterns or working with fabrics with unique textures like stretch fabric, the water-soluble stabilizer method is ideal. This method ensures precise pattern transfers and helps maintain fabric tension throughout the embroidery process.
Tools and Materials Needed
To use this method, prepare your embroidery pattern, water-soluble stabilizer (either printable or drawable), and any transfer tool like a pencil or ballpoint pen. Water-soluble stabilizer is available in sheets or rolls and may have an adhesive backing for easy application.
Process
First, transfer the embroidery pattern onto the stabilizer by drawing or printing directly onto it. Then, cut the stabilizer to fit the pattern size. If it has an adhesive backing, peel off the protective layer and stick it onto the fabric like a sticker.
Next, stretch both the stabilizer and fabric into an embroidery hoop and begin embroidering through both layers. This ensures the pattern is accurately executed and remains stable.
Removing the Stabilizer
After finishing the embroidery, the final step is to remove the stabilizer. Soak the entire embroidered piece in warm water; the stabilizer will dissolve, leaving the crisp embroidery pattern on the fabric. Always follow the product instructions for the stabilizer to ensure correct usage.
Using water-soluble stabilizer is not only quick and easy but also ensures high precision for complex patterns. Though it may be slightly more expensive than other methods, it’s an excellent choice for achieving professional and intricate results on all types of fabric.
Wrapping Up the Journey
In conclusion, mastering “How to Transfer Embroidery Patterns onto Fabric Simply and Effectively” is essential for both novice and experienced embroiderers. This guide has explored various methods such as the light table, tissue paper, carbon paper, and water-soluble stabilizers, each offering unique benefits and catering to different fabric types and project complexities. By understanding and applying these techniques, you can ensure precise and hassle-free pattern transfers, saving time and materials. Embrace these methods to enhance your embroidery projects, making the preparation phase as enjoyable and creative as the stitching itself.
————————————————————-


Leave a Reply
You must be logged in to post a comment.