
Steps to build a simple wooden bird house
Are you tired of an empty, lifeless yard? Do you wish to hear the sweet chirping of birds every morning? The perfect solution lies in crafting your own bird sanctuary. Building a simple wooden birdhouse is not only a rewarding DIY project but also an excellent way to attract vibrant birdlife to your garden. This guide will walk you through the essential steps to build a simple wooden bird house, ensuring that even beginners can create a beautiful and functional birdhouse. Get ready to transform your outdoor space into a lively haven for feathered friends!

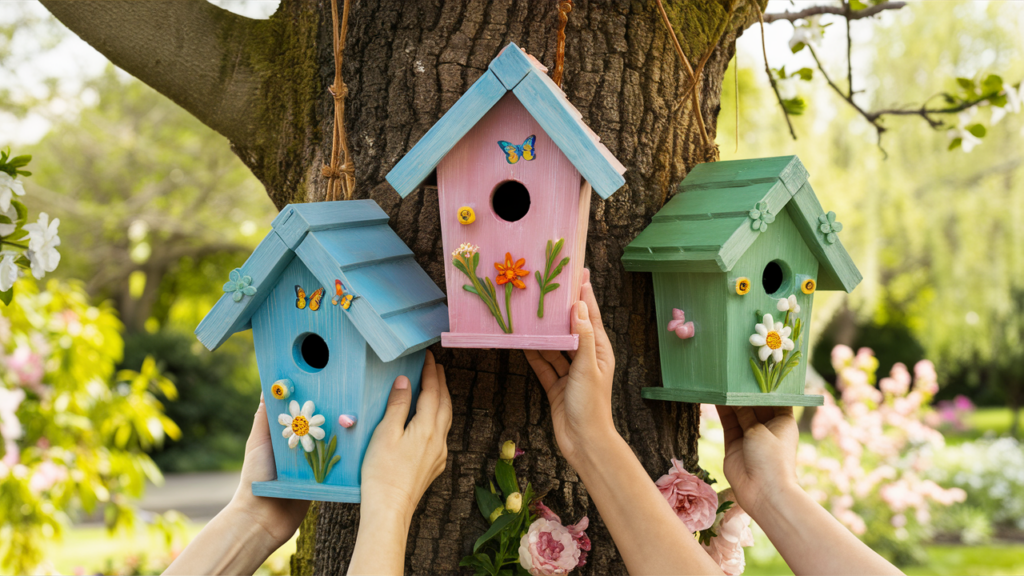
Enhance Your Yard with a Wooden Birdhouse
Adding a birdhouse not only beautifies your yard but also attracts various birds, making it a delightful and practical addition. Birdhouses can also make thoughtful gifts, showcasing your handiwork and love for nature.
This project is straightforward and rewarding, creating a lovely handmade item while providing a safe haven for your feathered friends. Birdhouses can attract more birds, offering a fascinating focal point to observe their behaviors and enjoy their cheerful chirping.
Educational Benefits of Birdhouses for Children
Building a birdhouse with your children can be an educational and exciting project. It serves as a perfect STEM activity, teaching woodworking skills and encouraging daily journaling by recording bird behavior. This hands-on experience brings nature closer to home, sparking curiosity and a love for wildlife.
Key Factors in Birdhouse Construction
While building a birdhouse seems simple, several details need careful consideration to attract specific bird species. Understanding the needs of nesting birds is crucial for creating an ideal birdhouse.
Key factors influencing birdhouse use include:
– Location: Choose a spot that is safe and appealing to birds.
– Mounting Type: Decide whether to hang, wall-mount, or place the birdhouse on a post.
– Height: Ensure the birdhouse is at an appropriate height to protect from predators
– Design: Select a style and shape suitable for the birds you want to attract.
– Entry Hole Size: Match the entry hole size to the target bird species.
– Cavity Depth and House Height: Ensure adequate space for nesting.
– Materials: Use natural, untreated wood and non-toxic paint to ensure safety.
Planning Your Birdhouse Project
Start with a clear plan and desired outcome. Research various birdhouse styles online and determine which birds are common in your area. A well-built birdhouse will provide a safe, sturdy place for birds to raise their young for many generations.
Essential Features for a Comfortable Birdhouse
To make your birdhouse appealing and safe for birds, consider these features:
– Ventilation Holes: Ensure proper temperature control.
– Drainage Holes: Reduce waste and water accumulation.
– Roof Overhang: Extend the roof slightly over the entry hole to keep rain out.
– Natural Materials: Use untreated wood and non-toxic paint.
– Predator Protection: Avoid designs that make it easy for predators to access the nest.
– Clean-up Access: Include a hinged roof or side door for easy cleaning.
Step-by-Step Guide to Building a Simple Wooden Birdhouse
Tools Needed:
– Safety glasses
– Ear protection
– Screwdriver or powered drill
– Hand saw or powered table saw
– Spade drill bit (for entry hole)
– Sandpaper (optional)
Materials Needed:
– 1 untreated wood board – 1in x 6in x 5ft (2.5cm x 15cm x 150cm)
– Screws
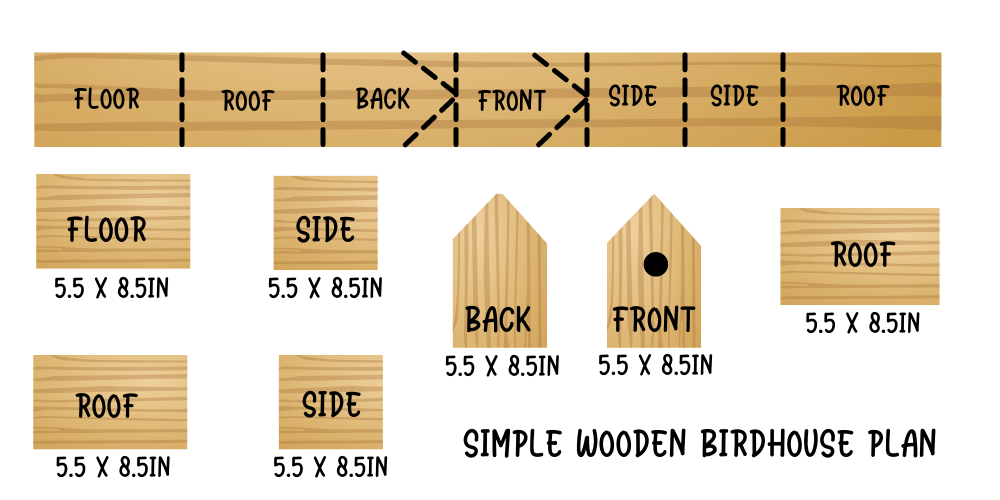
Step 1: Cutting the Board
Cut the 1×6 board according to the size guide. Sand the pieces smoothly if desired.
Step 2: Creating the Entry Hole
Measure the entry hole height based on the bird species. Use a spade bit to drill the entrance to the required diameter.

Step 3: Predrilling Holes
Drill pilot holes for the screws to prevent the wood from cracking. Countersink the screw heads.
Step 4: Assembly
– Attach the floor to the back wall with screws.
– Attach the front wall to the floor.
– Screw the side pieces in place.
– Attach the roof pieces, adding hinges to one for easy access if desired.
Step 5: Adding a Perch (Optional)
While not necessary, a perch can provide easy access and a resting spot for birds. Use a wooden dowel 2-3″ long, drilling a hole 1.5″ below the entry hole, and glue it in place.
Step 6: Painting or Decorating
Linseed oil is an excellent finish, enhancing the wood grain and protecting it from weather. If you prefer paint, choose non-toxic options. Decorate with glued rocks, sticks, or shells for a personalized touch.
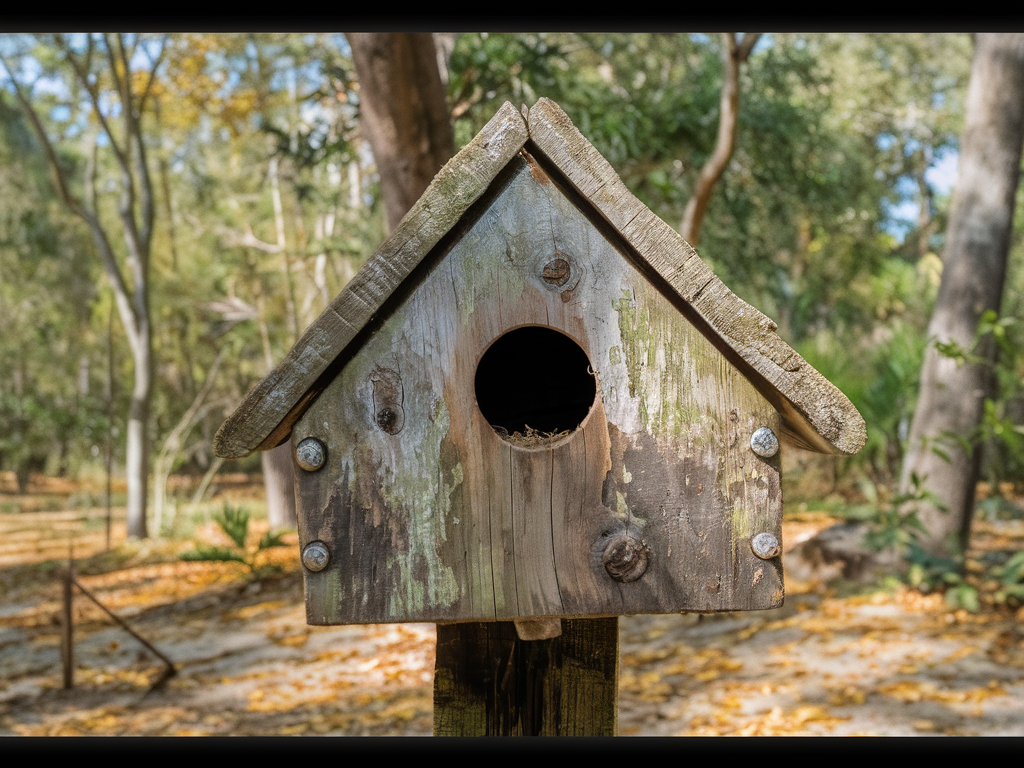
Step 7: Mounting or Hanging the Birdhouse
Place your birdhouse in a concealed location, preferably higher up to protect from predators. Face the entry hole away from prevailing winds to keep the interior dry.
Building your own birdhouse is a rewarding project that brings nature closer to home. Enjoy watching the birds that move in and share your creation with fellow bird enthusiasts!
Conclusion
By following these steps to build a simple wooden bird house, you can transform your yard into a vibrant, lively space. This project not only adds aesthetic value but also supports local wildlife, offering educational benefits for children and a rewarding experience for all involved. Remember, a well-planned birdhouse attracts various bird species, providing them with a safe, comfortable home. Embrace this opportunity to connect with nature, enhance your DIY skills, and enjoy the delightful presence of birds in your garden. Start building today and experience the joy of welcoming feathered friends to your backyard!


Leave a Reply
You must be logged in to post a comment.