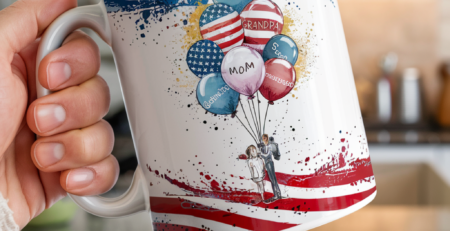
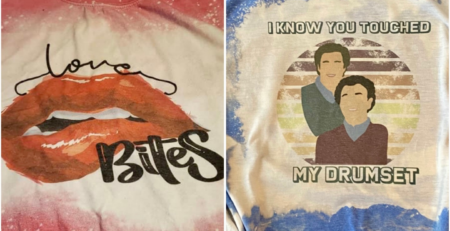
How to Sublimate on Cotton Shirts
Sublimating designs onto cotton shirts has long been a tantalizing goal for crafters, myself included. The allure of vibrant, full-color prints clashes frustratingly with the stubborn reality of natural fiber limitations. Many of us are left with piles of 100% cotton shirts, beautiful in their own right but seemingly impervious to the magic of sublimation. Despite the ease of sublimating onto polyester and the desire to achieve seamless, multi-colored designs without layering, the barrier posed by cotton has been a persistent challenge. However, through relentless experimentation and innovative thinking, I’ve uncovered methods that bridge this gap, offering a pathway to achieve stunning sublimation results on cotton garments. This journey has transformed my crafting approach, offering a solution where creativity meets technical challenge, promising new avenues for personalized and vibrant apparel creations.

The Benefit of Sublimation
One of the biggest deterrents to sublimation is the need for “special” materials. You can’t transfer a sublimation print to a plain mug from your local home store; it would just rub off. Similarly, sublimating onto any random phone grip will result in a melted mess. And you can’t just grab a cotton shirt from your stash and press a beautiful sublimation design onto it; it needs to be a polyester shirt.
The Problem with Natural Fibers
If you could see my stash of 100% cotton shirts, you’d think I was a distributor. Like most crafters, I went wild when I first got into making shirts with HTV, stocking up during sales. I have shirts in various sizes, colors, and styles. However, you can’t sublimate onto natural fibers like cotton, and the best transfers are onto light colors, not safety orange or black.
The Trick for Sublimating on Cotton
While dye sublimation doesn’t work directly onto cotton, there is an indirect fix. After researching and experimenting, I discovered that I could add sublimation to glitter iron-on or flock HTV. These alternatives allow you to add full color and extra texture to your designs.
The Magic Trick: Sublimation Fabric Sheets
More recently, I learned about sublimation fabric sheets, available from JDC.com, an online supplier of vinyl materials. The process is simple: print your sublimation design onto sublimation paper, transfer it to the sublimation fabric, and then press the fabric onto your garment. This beats cutting and layering multiple pieces of HTV.
Materials and Supplies
– Cotton shirt
– Sublimation paper
– Sublimation fabric
– Heat-resistant tape
– Sublimation printer
– Heat press or Easy Press (home irons are not recommended)
– Shirt design (from Creative Fabrica)
– Cricut or other cutting machine (optional)
– Green or blue Cricut cutting mat
– Teflon sheet and/or parchment paper
– Lint roller
Note: If you don’t have a sublimation printer, you can purchase pre-printed sublimation prints on Etsy.
The Process
Creating Your Design:
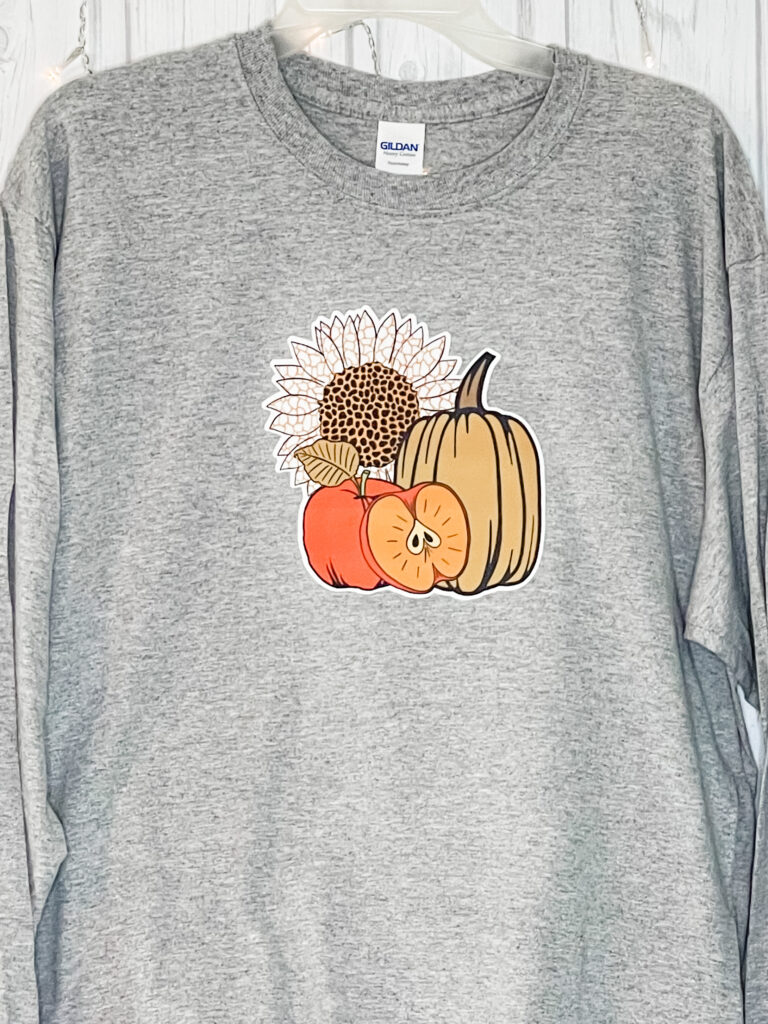
1. Purchase and download the Autumn Sublimation design from Creative Fabrica.
2. Upload the file into your cutting software (Cricut Design Space, Silhouette Studio, etc.).
3. If using Cricut Design Space, upload it as a “print then cut” file.
4. Insert the design on your canvas and size it.
5. Create an offset around your design.
6. Send your design to cut.
Working with the Full-Color Design (Sublimation Paper)
1. Mirror the full-color design.
2. Load the sublimation paper into the printer and print the design.
3. Cut the printed design using your cutting machine or scissors.
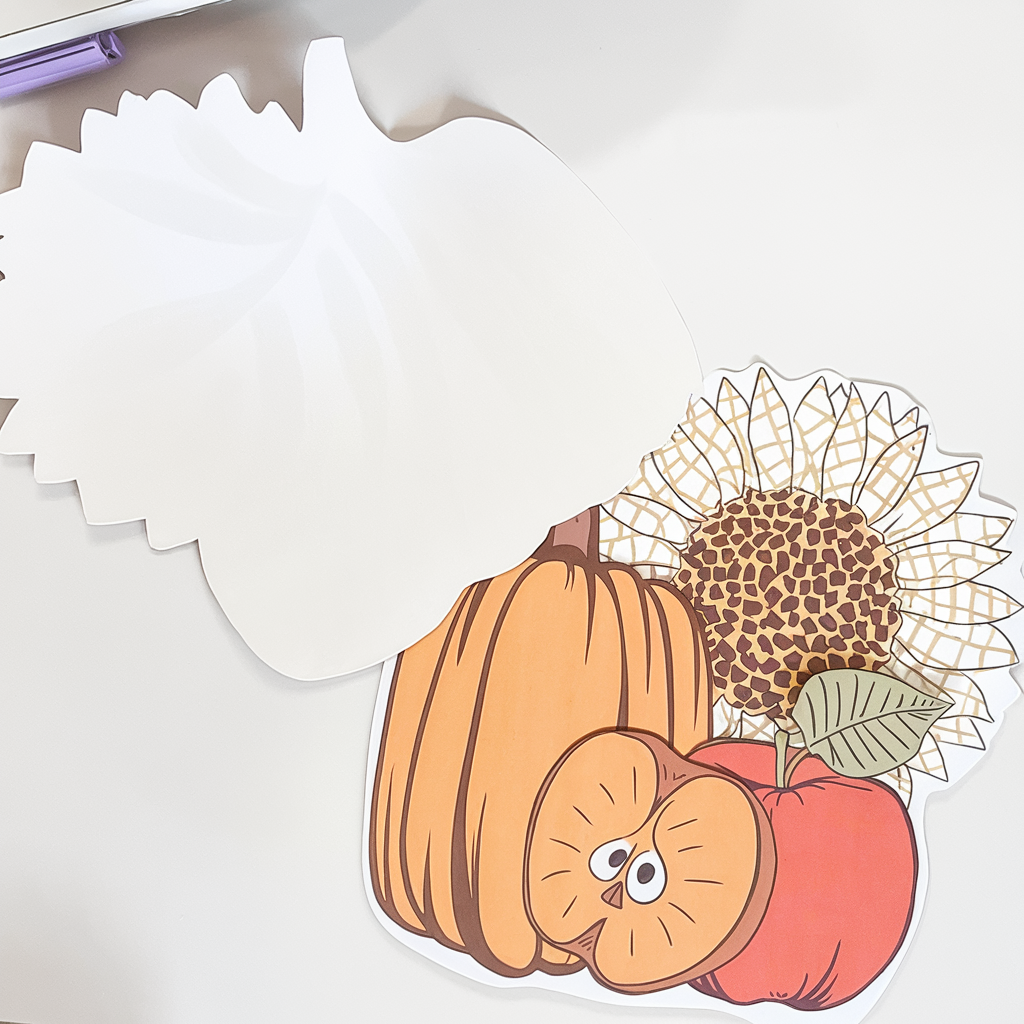
Working with the Offset (Sublimation Fabric)
1. Do not mirror the offset.
2. Place the sublimation fabric on your cutting mat with the liner down.
3. Select your material type and cut the fabric.
4. Weed the cut design.
Pressing Your Design
1. Set your heat press to 400°F for 50 seconds.
2. Place your printed design face down onto the fabric side of the sublimation fabric.
3. Use heat-resistant tape to hold the design in place.
4. Cover with parchment paper or a Teflon sheet.
5. Press at 400°F for 50 seconds.
6. Carefully remove the design from the press.
Pressing the Design on the Shirt
1. Set your heat press to 302°F for 12 seconds.
2. Press your shirt briefly to remove moisture and wrinkles.
3. Use a lint roller to remove any lint or dust.
4. Remove the back liner from your printed design.
5. Place your design on your shirt and cover with a Teflon sheet or parchment paper.
6. Press for 12 seconds at 302°F and remove the pressed shirt from the press.
Vinyls for Sublimation Projects
JDC offers various HTV options, including Inkjet Printable HTV that accepts standard dye and pigment ink as well as sublimation ink, allowing sublimation on 100% cotton and dark-colored garments. Their Rainbow White Glitter HTV also allows sublimation over the vinyl for full-color glittery designs.
More Vinyl & HTV Projects
If you’re not into sublimation, there are still many fun projects you can make with vinyl and HTV:
– Custom shoes
– One-of-a-kind mousepads
– Home, office, or vehicle decals
– Fun stickers
– Porch signs
– Cup and tumbler decals
In conclusion, mastering the art of sublimating designs onto cotton shirts has been a game-changer in my crafting journey. Overcoming the initial frustration of limited material compatibility, I discovered innovative techniques like using glitter iron-on or flock HTV to achieve vibrant, textured designs on natural fibers. Furthermore, the introduction of sublimation fabric sheets from JDC.com has streamlined the process, offering a seamless way to transfer intricate designs without the complexity of multiple layers. This breakthrough not only enhances creativity but also expands the possibilities for personalized apparel, merging the brilliance of sublimation with the comfort of cotton. Whether you’re a seasoned crafter or a novice enthusiast, exploring these methods opens up a world of creative potential, ensuring every garment reflects your unique style and vision.


Leave a Reply
You must be logged in to post a comment.